In this lab, you will create a storage bucket and then use it to store some files, retrieve files, and implement version control.
What you need
To complete this lab, you need:
- The latest version of Google Chrome
- A Google Cloud Platform billing account
What you learn
In this lab, you will:
- Create and use buckets
- Store and retrieve files
- Implement version control
Step 1
Log onto the Google Cloud Platform web console at http://console.cloud.google.com.
Switch to your project for this course, if you are not already there. If you don't have a project for this course, create one now.
Step 2
From the Products and Services menu, choose Storage. Click the Create Bucket button.
Step 3
Provide a unique bucket name and choose a Default storage class of Multi-Regional.
The bucket name must have a globally unique name. You may need to modify your bucket name to locate one that is unique.
Make a note of the bucket name. It will be used later in this lab.
Click Create.
Step 1
Open the cloud shell by clicking the following button in the top right of the console:

Step 2
Once the cloud shell opens, type the following command to download a sample web page from the Internet:
git clone https://github.com/roitraining/space-invaders
Step 3
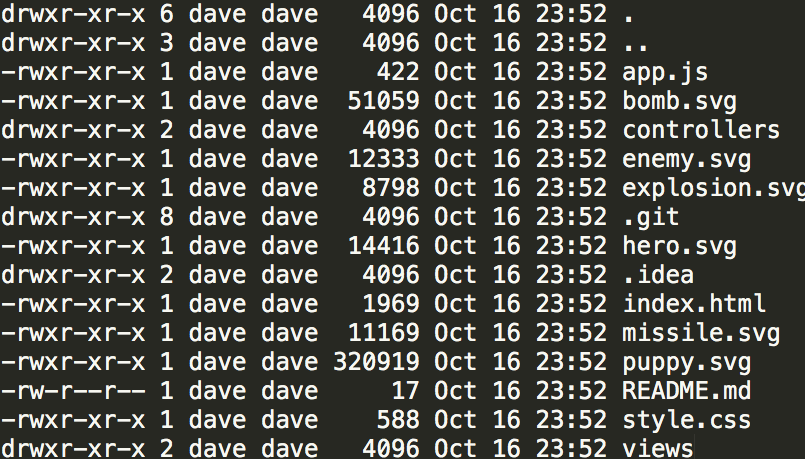
Type the following two commands to display the files just downloaded:
cd space-invaders
ls -al
Your screen will look similar to below:
Step 4
Copy the following command and paste in the cloud shell to upload all the files into the bucket just created:
gsutil rsync -r -x ".git/*" . gs://BUCKET_NAME/
Where BUCKET_NAME is the name of the bucket you created earlier.
The -r option says to recursively copy all files in all sub folders.
The -x says to exclude any files in the .git folder.
Step 5
In the top half of the browser (above the cloud shell), click the Refresh button.
Step 6
Copy the following command and paste in the cloud shell to mark all files as publicly readable:
gsutil -m acl set -R -a public-read gs://BUCKET_NAME
Where BUCKET_NAME is the name of the bucket you created earlier.
Step 7
In the top half of the browser, click the Refresh button. Each file should now be shared publicly.
Step 8
Click the Public Link for the index.html file
Step 9
At the cloud shell prompt, use the following command to delete the local copy of the index.html file:
rm index.html
Step 10
Verify the file was deleted from the cloud shell:
ls
Step 11
Restore the original file from the storage bucket with the command:
gsutil cp gs://BUCKET_NAME/index.html .
Step 12
Verify the file was restored:
ls
This demonstrated how cloud storage can be used as a backup and can restore files if they are deleted by accident.
Step 1
At the cloud shell prompt, type or paste the following to retrieve the current versioning status of the bucket:
gsutil versioning get gs://BUCKET_NAME/
The suspended policy means that versioning is not enabled.
Step 2
At the cloud shell prompt, type or paste the following to enable versioning:
gsutil versioning set on gs://BUCKET_NAME/
Step 3
Verify that versioning was enabled with the same command used earlier.
gsutil versioning get gs://BUCKET_NAME/
Step 4
Use the following commands to edit the local file and add your name:
nano index.html
Within the editor, use the keyboard arrow keys (not the mouse) to locate the line:
<title>{{appName}}</title>
And add your name just after <title>, so the line looks similar to:
<title>Dave's{{appName}}</title>
Save the file by typing: CTRL+X, press Y and press Enter
Step 5
Copy the file again to the cloud storage bucket:
gsutil cp index.html gs://[BUCKET_NAME]
Step 6
In the top half of the browser (above the cloud shell), click the Refresh button. Notice that there is still only one file listed. However, each version of each file is now being maintained.
Step 7
Use the following command to list all versions of the files in the bucket:
gsutil ls -al gs://BUCKET_NAME/index.html
Step 1
Use the following command to delete the bucket:
gsutil rm -r gs://[BUCKET_NAME]