
In this lab, you will create a continuous delivery pipeline using AWS CodeCommit, AWS CodeBuild, and AWS CodePipeline.
The pipeline will watch for changes in your CodeCommit Git repository; whenever changes are pushed, it will perform a build and if the build completes, it will deploy the application to Elastic Beanstalk.
What you need
To complete this lab, you need:
- Latest version of Chrome
- The Git command line client installed on your workstation
- An AWS account and login with permissions to use CodeCommit, CodeBuild, CodeDeploy, and Elastic BeanStalk
In this lab, you will:
- Create an AWS CodeCommit Git repository
- Use AWS CodeBuild to create an automated build
- Use AWS CodePipeline to automate deployment to an Elastic Beanstalk application
You will first copy an existing Git repository in GitHub into a folder on your local workstation. This repository just contains a simple Python web application you can use for the rest of the lab.
Step 1
Open a command prompt on your local machine and create a new folder named codecommitlab.
mkdir codecommitlab
Step 2
Change into the codecommitlab folder.
cd codecommitlab
Step 3
Type the following command to clone an existing Git repository to a new folder named cc-lab-old on your workstation.
git clone --mirror https://github.com/drehnstrom/converter cc-lab-old
Step 4
Change into the cc-lab-old folder. Keep the command prompt open.
cd cc-lab-old
You will now create a CodeCommit repository in AWS. Later, this repository can be integrated with CodeBuild and CodeDeploy to create the continuous delivery pipeline.
Step 1
Start Chrome and log into your AWS account. Go to https://console.aws.amazon.com.
Step 2
Select Services | IAM, click Users, and then click the username for the user you are currently logged in as.
Step 3
Select the Security credentials tab and scroll down to the HTTPS Git credentials for the AWS CodeCommit section.
Step 4
Click the Generate button.
Step 5
In the Git credentials generated dialog, click the Download credentials button.
Step 6
Click Close.
Step 7
Select Services | CodeCommit.
Step 8
If you have no repositories, click the Getting Started button, otherwise click the Create repository button.
Name the repository converter and follow the steps to create it. You can skip the Configure email notifications page.
Step 9
Click the Close button in the Connect to your repository window. The new repository will be displayed.
Step 10
Click the Clone URL button and select HTTPS. The URL for your new CodeCommit repository will be displayed.
Copy the URL to your clipboard and paste it in a text file for later reference.
Step 11
Switch back to the command prompt used earlier. It should be in the cc-lab-old folder.
Step 12
Type the following command to push everything into your new CodeCommit repository, where <CodeCommit-URL> is the URL to your new repository you just copied.
git push <CodeCommit-URL> --all
Step 13
You should be asked for a username and password. Use the values in the gitCredentials.csv file that was downloaded.
Step 14
Once the push command is done, type the following command to push additional references such as any tags, where <CodeCommit-URL> is the URL to your new repository you just copied.
git push <CodeCommit-URL> --tags
You have migrated a repository from GitHub to AWS CodeCommit. Before you can use the new repo, you should clone it to a new folder. The cc-lab-old folder should not be used for anything else.
Step 1
From the command prompt, type cd .. to change up out of the cc-lab-old folder.
Step 2
Type the following command to clone the CodeCommit repository to a local folder called cc-lab-new.
git clone <CodeCommit-URL> cc-lab-new
Step 3
Edit the application.py file in the cc-lab-new folder and change the welcome message to something else as shown below. You can use whatever text or code editor you like.
model = {"title":"Welcome to Converter!"}
to:
model = {"title":"Welcome to <Your_Name>'s Converter!"}
Step 4
Save the file when done.
Step 5
From the command prompt, change into the cc-lab-new folder.
Step 6
Type the following command to add your changes to the local staging area of your repository.
git add application.py
Step 7
Before you can commit changes, Git needs to know your name and email so the changes can be tagged with who made them.
Type the following 2 commands to provide Git with your name and email.
git config --global user.email "yourmail@example.com"
git config --global user.name "Your Name"
Step 8
Type the following command to commit your changes to your local repository.
git commit -m "Changed title to include my name"
Step 9
Finally, we need to push the committed changes to the remote Git repository. Issue the following command to push the changes to AWS CodeCommit.
git push
First, you will create and run the automated build. The build will be based on code files located in your CodeCommit repository. The results of builds will be placed in an S3 bucket.
Step 1
From the Services menu, go to the CodeCommit service. Earlier, you should have created a CodeCommit repository called converter. Verify that this is done.
Step 2
Now from the Services menu, go to the S3 service. Create a bucket in your current region called converter-build-<your initials> or something similar (the bucket name can be anything, but it has to be unique in all the world).
Step 3
Now from the Services menu, go to the CodeBuild service.
Step 4
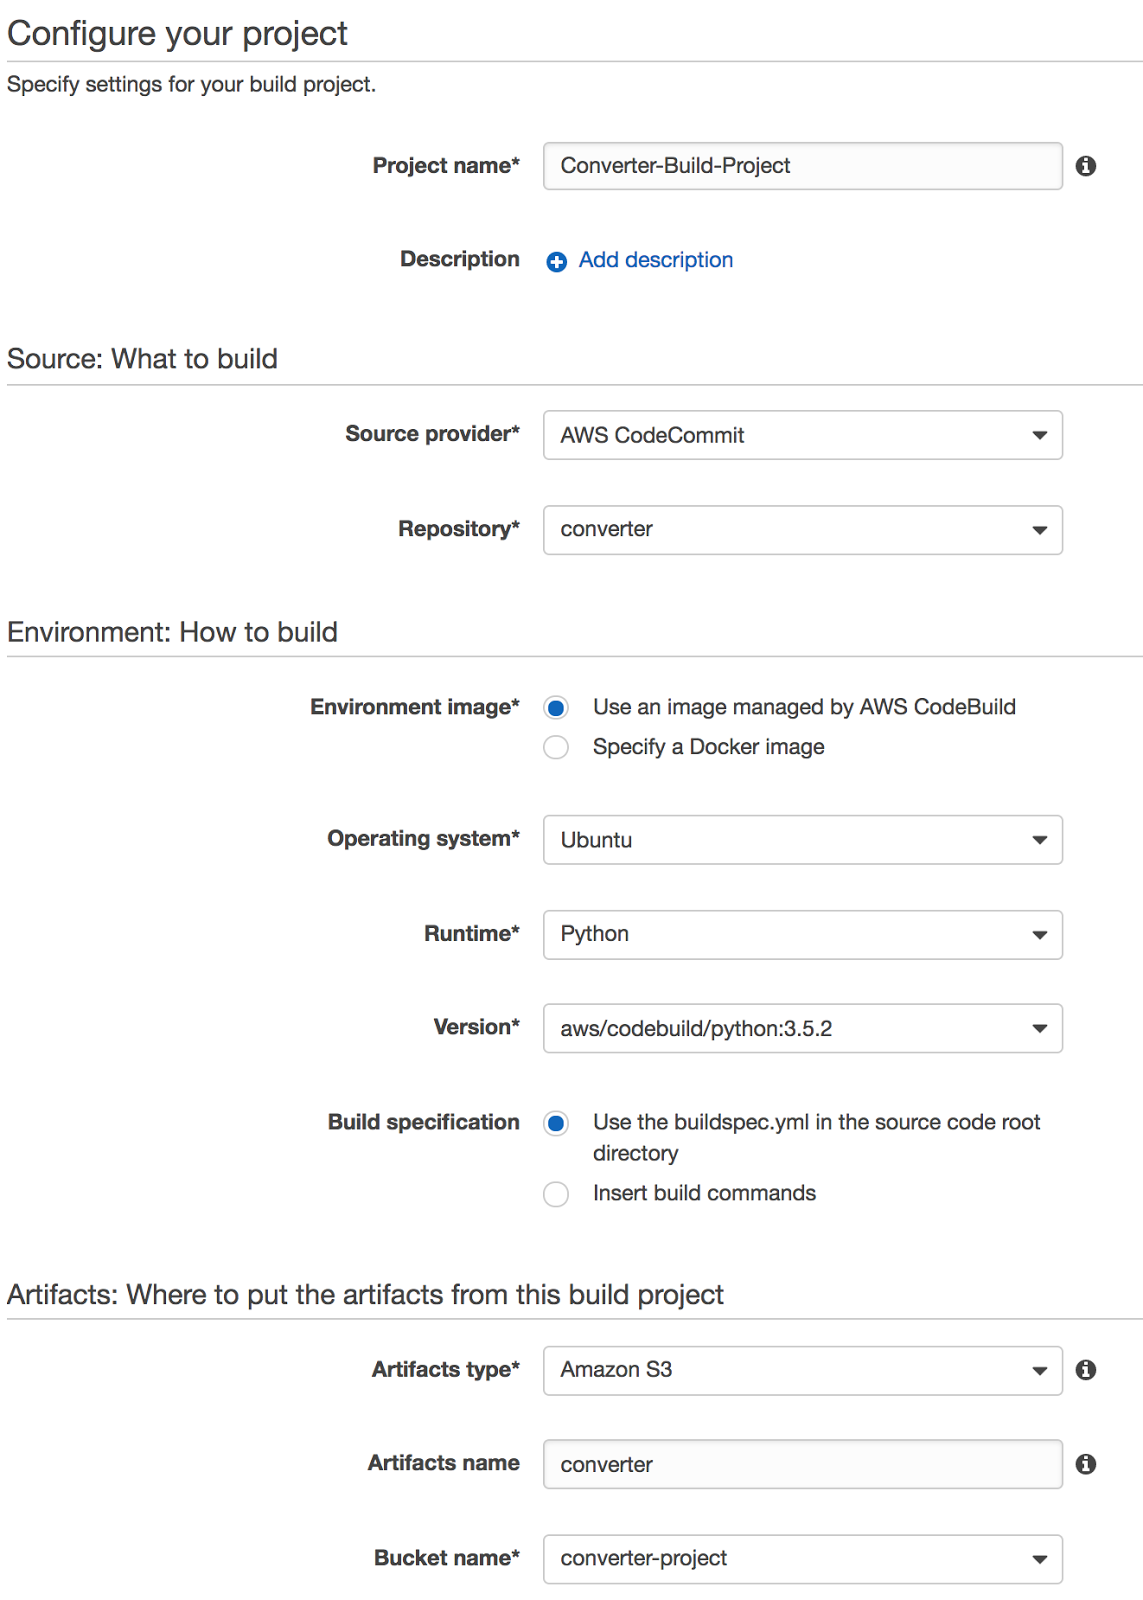
Click the Create project button.
- Name the project
Converter-Build-Project - Choose AWS CodeCommit from the Source Provider dropdown
- Choose your converter repository
- In the Operating system dropdown, choose Ubuntu
- In the Runtime dropdown, choose Python
- In the Version dropdown, choose the latest version of Python
- Make sure Use the buildspec.yml in the source code root directory is selected
- Choose S3 for Artifacts type
- Set Artifacts name to
converter - Choose the bucket you created in Step 3 from the Bucket name dropdown
The screen should look similar to the one below.
Step 5
Click the Continue button, review the settings, and then save your build.
Step 6
Back on the CodeBuild main screen, select your Converter-Build-Project and then click Start build.
Step 7
On the Start new build screen, select the master branch, then click Start build.
Step 8
It will take a little while for the build to complete. Once it is done, take a look at the details. Also, click the View entire log link.
The steps of the build and build output is defined in the buildspec.yml file. Let's take a look at it to understand it.
Step 1
Go to the S3 service and find the bucket you created for build results. Click the converter folder and examine its contents.
Step 2
Go to the CodeCommit service. When you setup your build, you selected the option Use the buildspec.yml in the source code root directory.
Click into the Converter repository and then click the file buildspec.yml. This is the file that defines the build and its stages.
Examine the file's contents and then try to match the contents with the messages in the build output log. Also note, the files that were written to S3 are specified in this file in the artifacts section.
Before creating the pipeline, you will create an Elastic Beanstalk environment that you can deploy your program it.
Step 1
From the Services menu, choose Elastic Beanstalk. Then, click the Create New Application link.
Step 2
Name the application converter-app, and then click Next.
Step 3
On the New environment screen, select Create web server.
Step 4
On the Environment type screen, select Python and select Single instance from the Environment type dropdown. Then, click Next.
Step 5
On the Application version screen, select the Sample application radio button. Then, click Next.
Step 6
On the Environment information screen, click the Check availability button. If the environment URL is green, click Next. Otherwise, add your initials or something else to the URL to make it unique. Once you have a unique URL, click Next.
Step 7
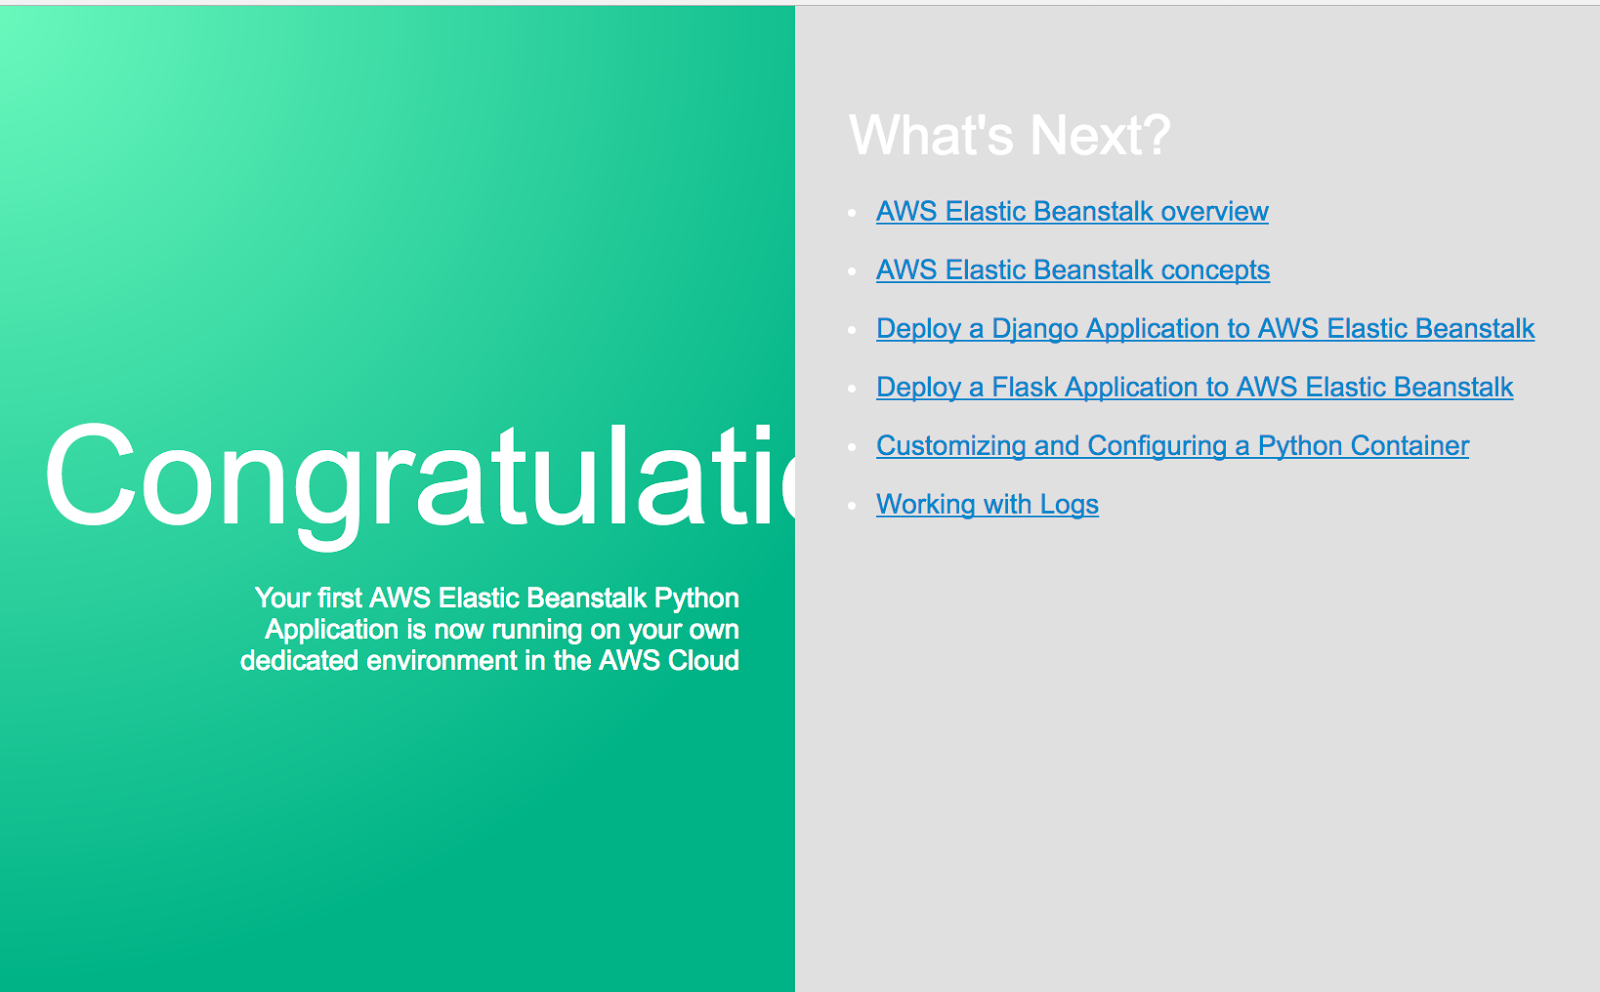
Accept the defaults for the rest of the screens. When you get to the end, click Launch. It will take a couple minutes for your application to start.
When it is ready, click the URL to test it. You should see the Python sample application page as shown below.
Now that you have an Elastic Beanstalk application, you can create a Code Pipeline that will deploy your application into it.
Step 1
From the Services menu, choose CodePipeline. Click the Create pipeline button.
Step 2
Name your pipeline converter-pipeline. Then, click Next step.
Step 3
On the Source location screen, select AWS CodeCommit and then your converter repository and the master branch. Then, click Next step.
Step 4
On the Build screen, select AWS CodeBuild and then your Converter-Build project. Then, click Next step.
Step 5
Select AWS Elastic Beanstalk as the Deployment provider. Choose your converter-app application and environment. Then, click Next step.
Step 6
On the AWS Service Role screen, if a role exists, select it; otherwise, click the Create role button and then click the Allow button on the resulting page.
Then, click Next step, review your pipeline, and finally click the Create Pipeline button.
Step 7
It will take a while for your pipeline to run the first time. When it does, go back to your Elastic Beanstalk Web application and refresh the screen. You should see the Converter application in the browser as shown below.
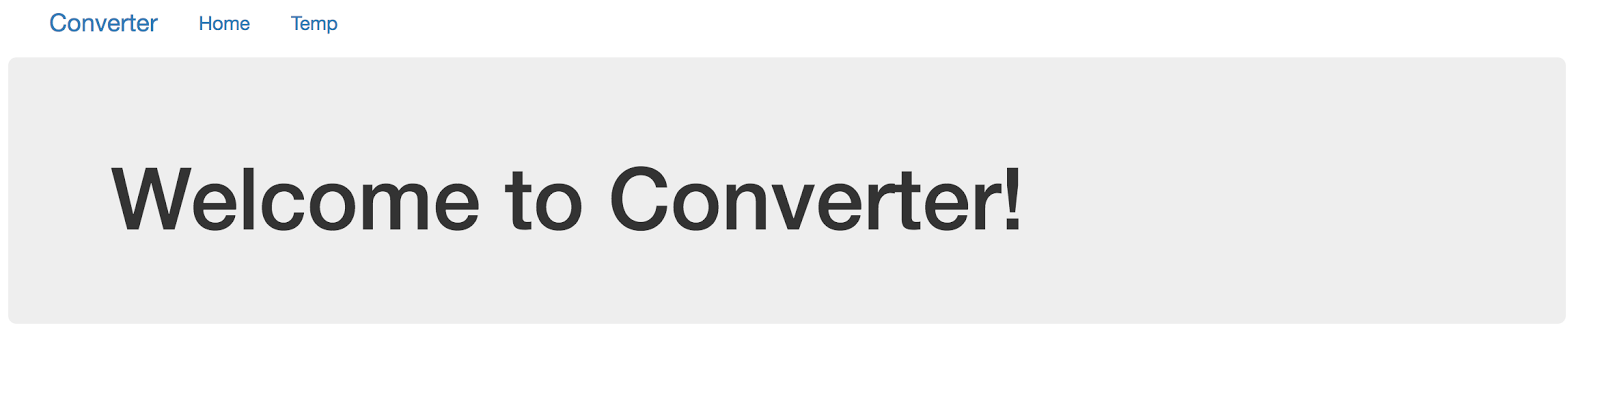
Every time code is pushed to the repository, the pipeline should run.
Step 1
Make a change to the application.py file on your local machine. Just change the title as you did before. Commit the change and then push it to the repository. Switch back to the CodePipeline page and you should see the pipeline start again. (Be patient, it doesn't happen immediately!)
Step 2
Make some changes to other files in the project to see what happens. After every push, the build should be run and the results deployed to Elastic Beanstalk.

This lab was provided by ROI Training and was adapted from our course, Programming Microservice and Big Data Applications in the Cloud.
Check out some related courses:
Please click the link below and give us some feedback on this lab. You will automatically be entered to win a new Google Home.